I spent a couple hours in the machine shop this past week working on the UHMW unibody of my new beetleweight robot I've decided to name "El Tigre".

Drilling the holes in the top and bottom for where the top and bottom cover plates are going to be screwed in.
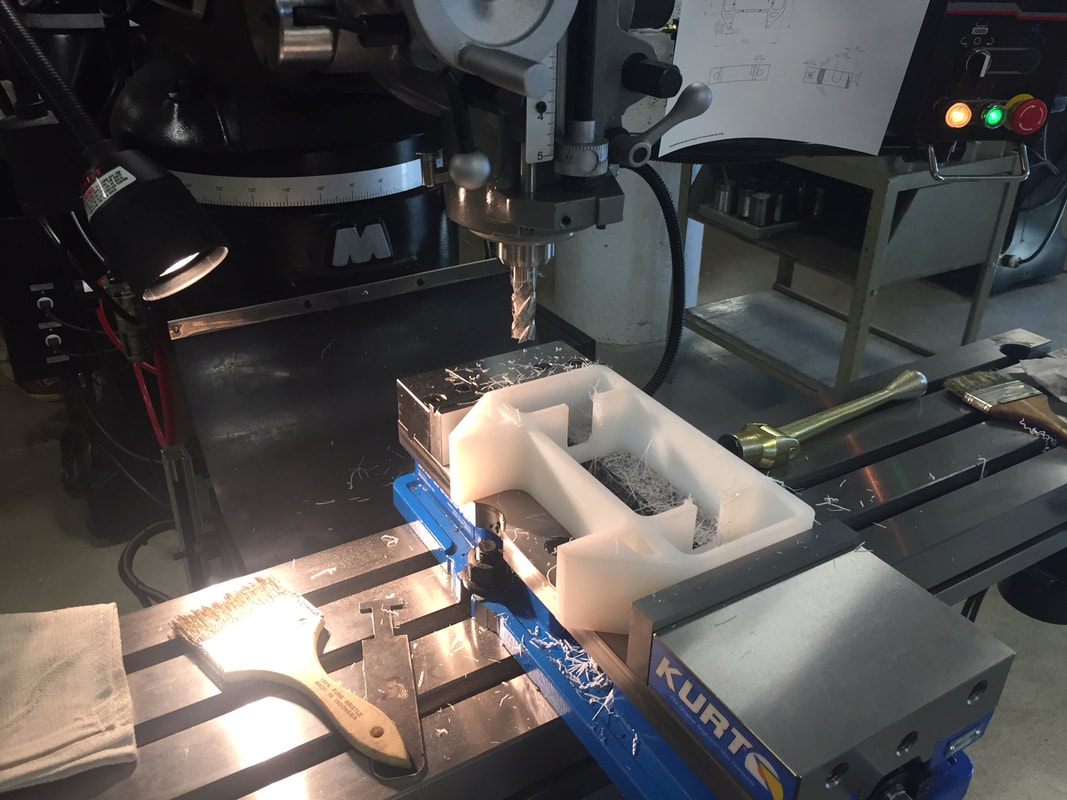
Milling out the pockets in the inner rails where the motors will slide in
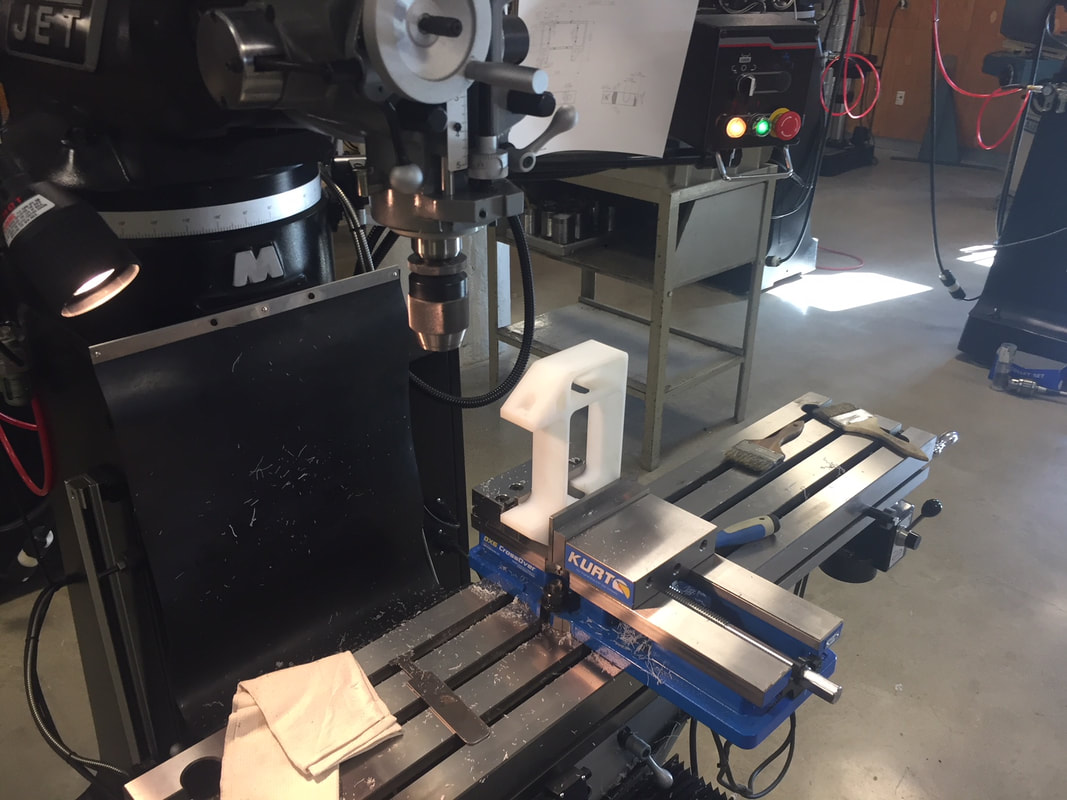
Flipped on its side to drill the holes for the weapon shaft and mill flats for the nut and bolt head to fit into.
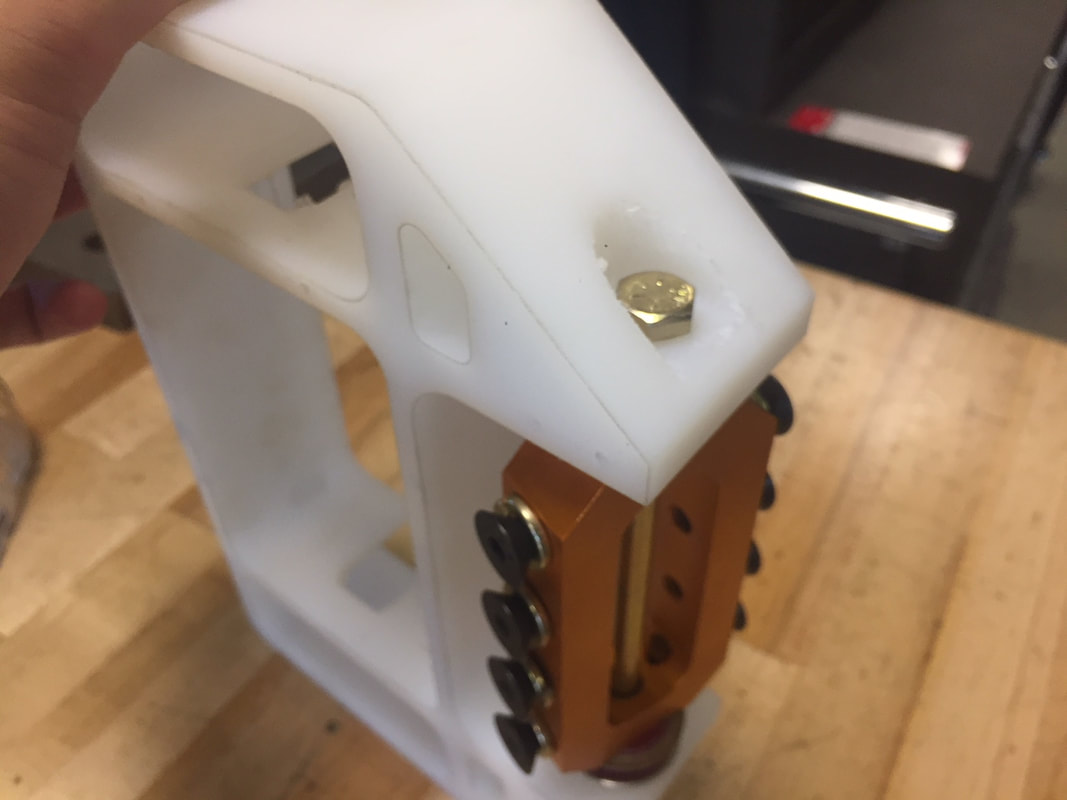
It was a little annoying to machine because the UHMW is so flexible and I had to turn the entire body on its side so it chattered a lot and isn't the prettiest looking. But the bolt that I'm using as a shaft fits great so I'm happy.
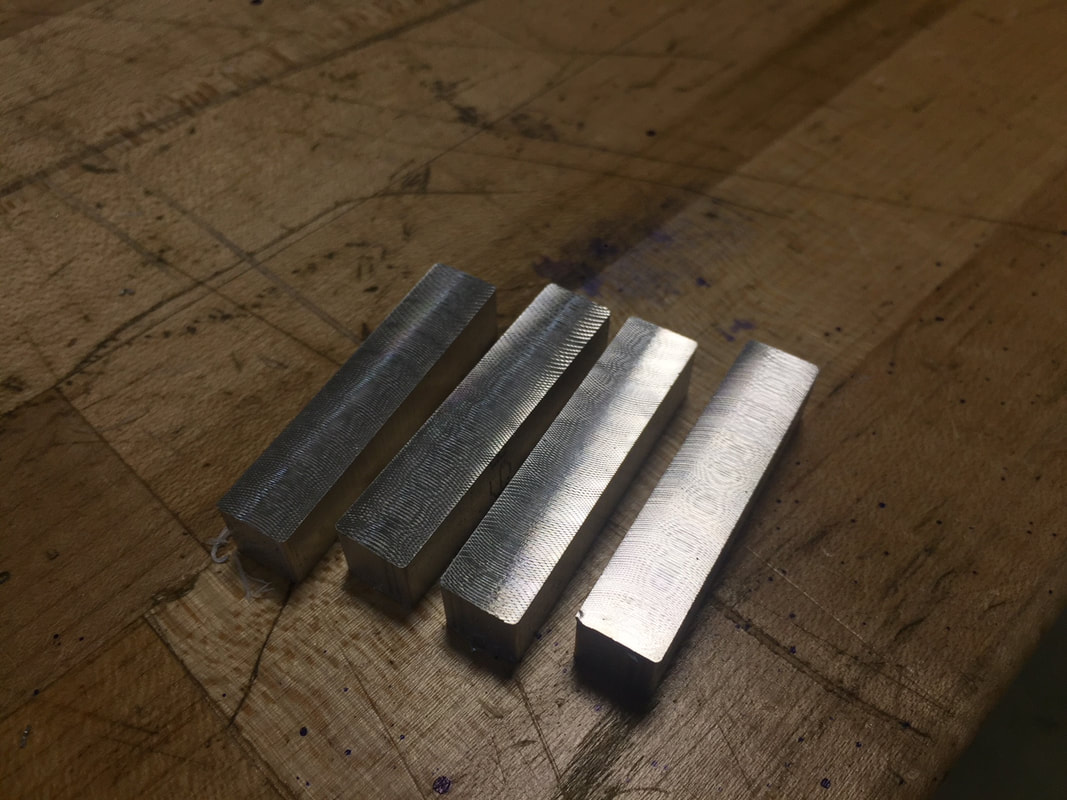
I also milled up a couple of blanks that will become the little wedgelets on the front of the robot to help feed opponents into the beater. These still need to be drilled and sharpened into a wedge shape.
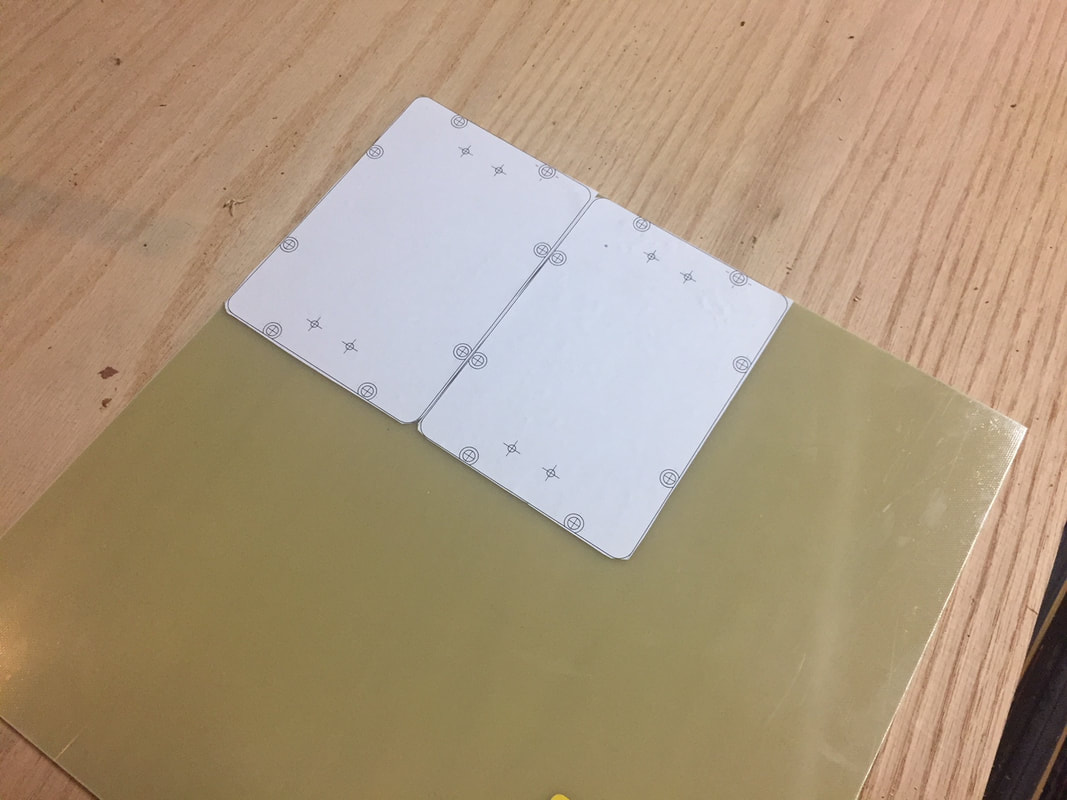
Using a 1:1 scale drawing of the top plate as a template to cut them out of a sheet of Garolite. I haven't done a build progress update in a while, so I don't have any pictures of them actually cut out, but it was really easy to cut using a band saw and drilling the holes using the paper template as a reference.
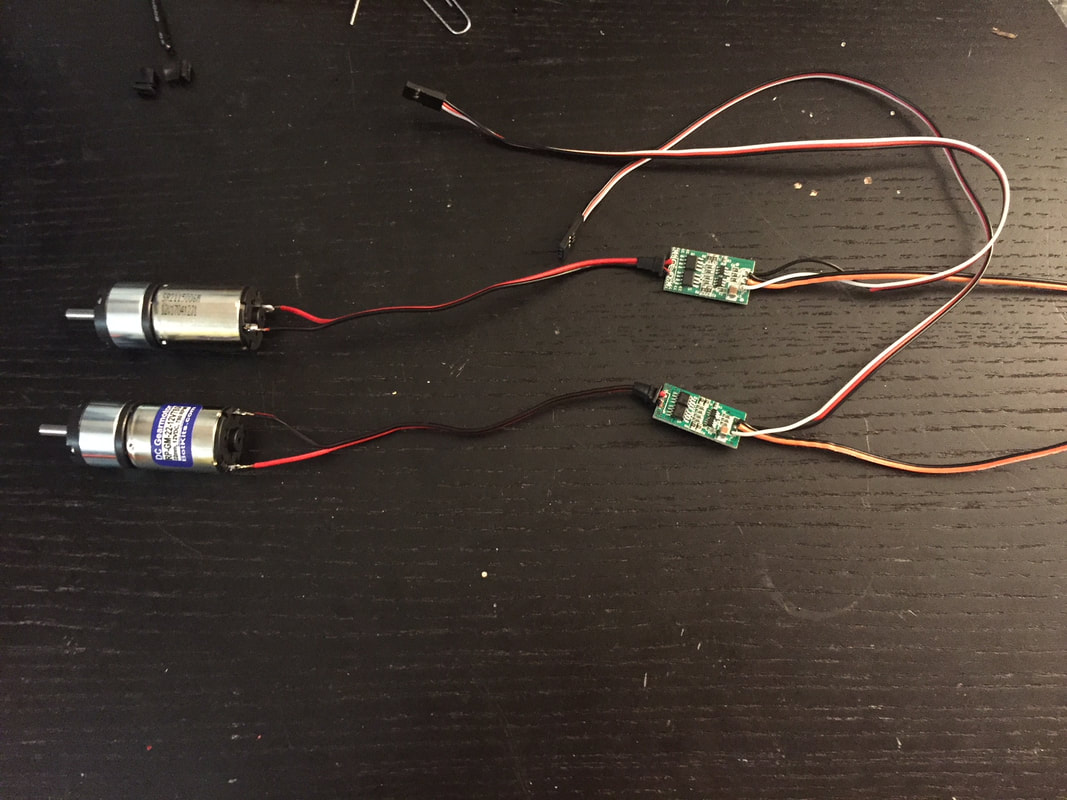
With a lot of the machining done, I went home to start working on the electronics for the bot. I wired up the motors with the Vex 29s using this handy guide by Jamison Go on how to use these ESC for purposes other than the Vex kits they were designed for.
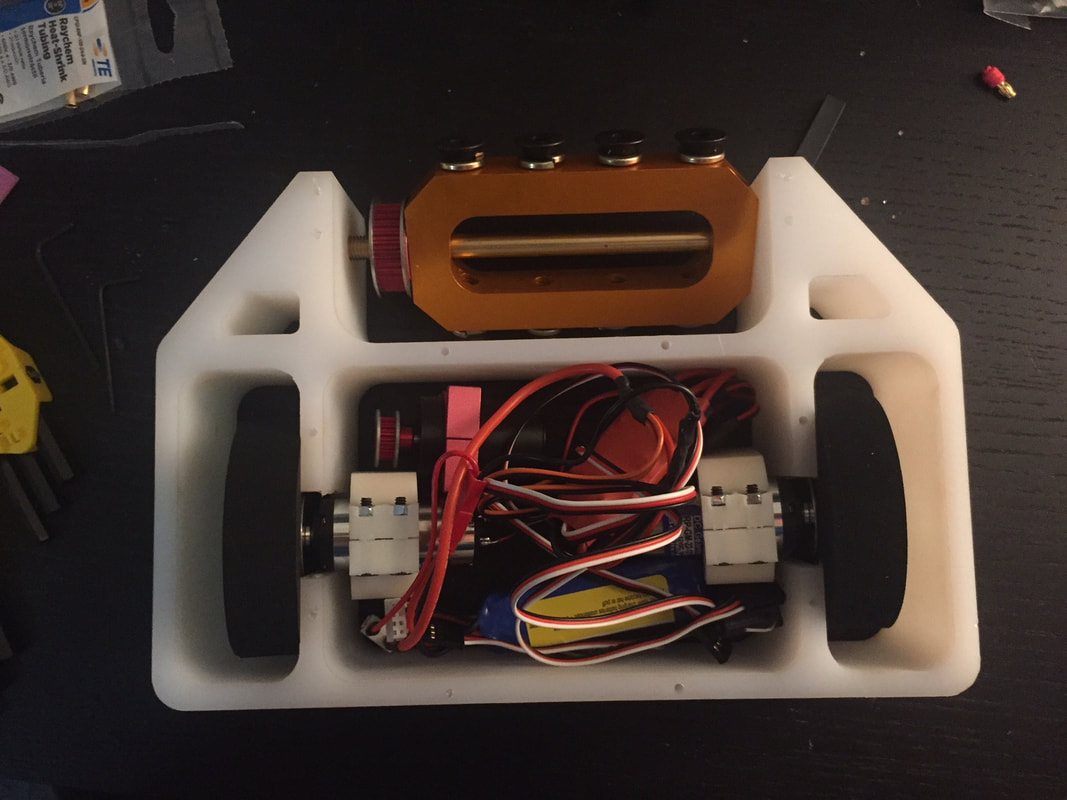
I forgot to take more pictures during the wiring process because it went so quickly. But it looks like I'll have plenty of space for everything, despite how messy it looks in this picture. All of the electrical components are listed in the original post. Only other thing to note is the 3D printed motor mounts I designed for this robot. They clamp down on the diameter of the motor right on the seam between the gearbox and the actual motor. This will hopefully help keep the motor together while being strong enough to hold the motors in place. With significant wheel protection and foam wheels I'm not too worried about it.
That's it for now. Things to do for the future:
That's it for now. Things to do for the future:
- Finish the top and bottom plates
- Finish machining the wedgelets
- Machine a slot in the wall for the weapon belt to pass through
 RSS Feed
